01
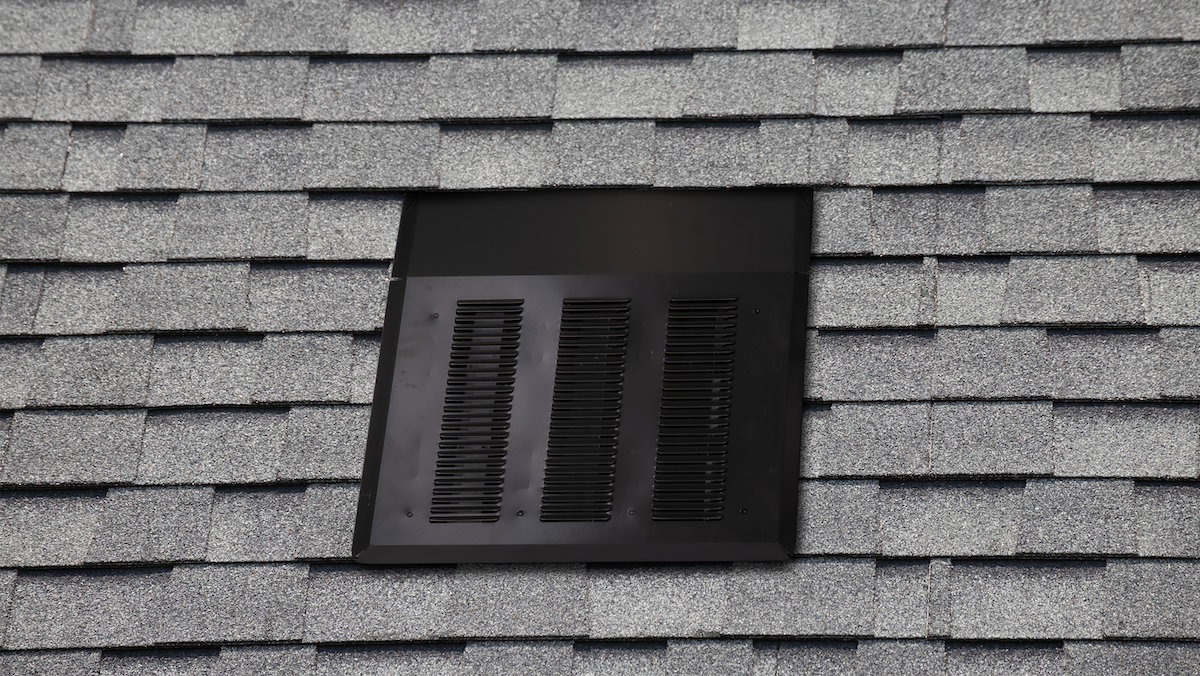
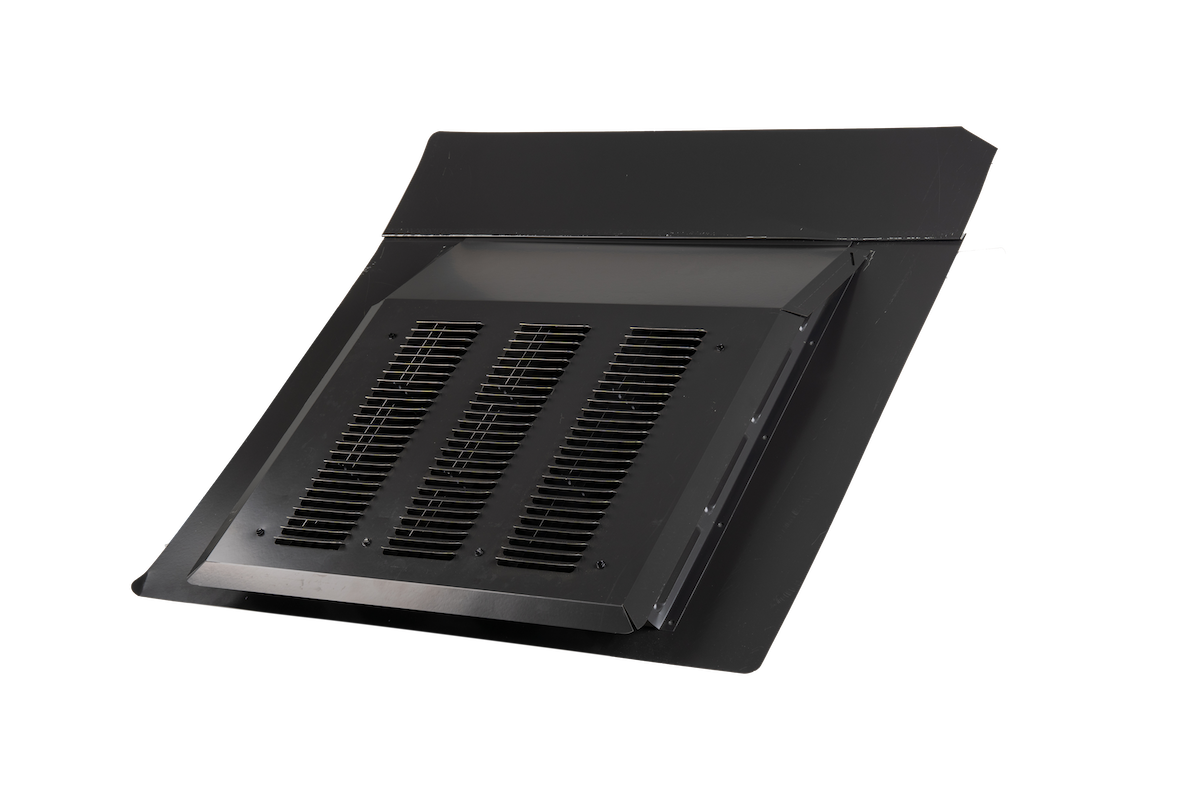
Low-profile design for enhanced curb appeal
02
Durable, weather-resistant construction
03
Easy installation with included hardware
04
Meets all building code requirements
05
Limited lifetime warranty
01
Spend less time installing & save money with less vents
02
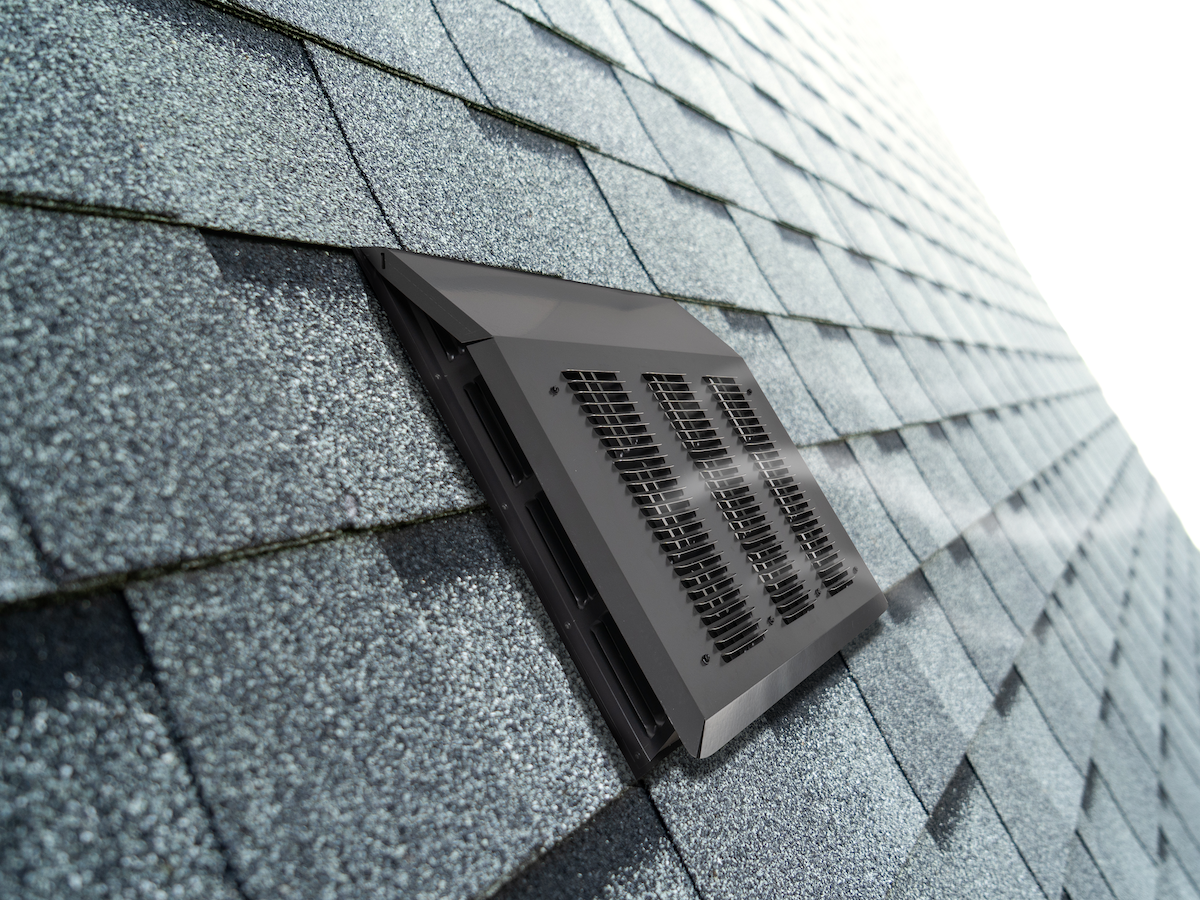
Improve attic ventilation & reduce moisture buildup
03
Boost home energy efficiency & comfort
04
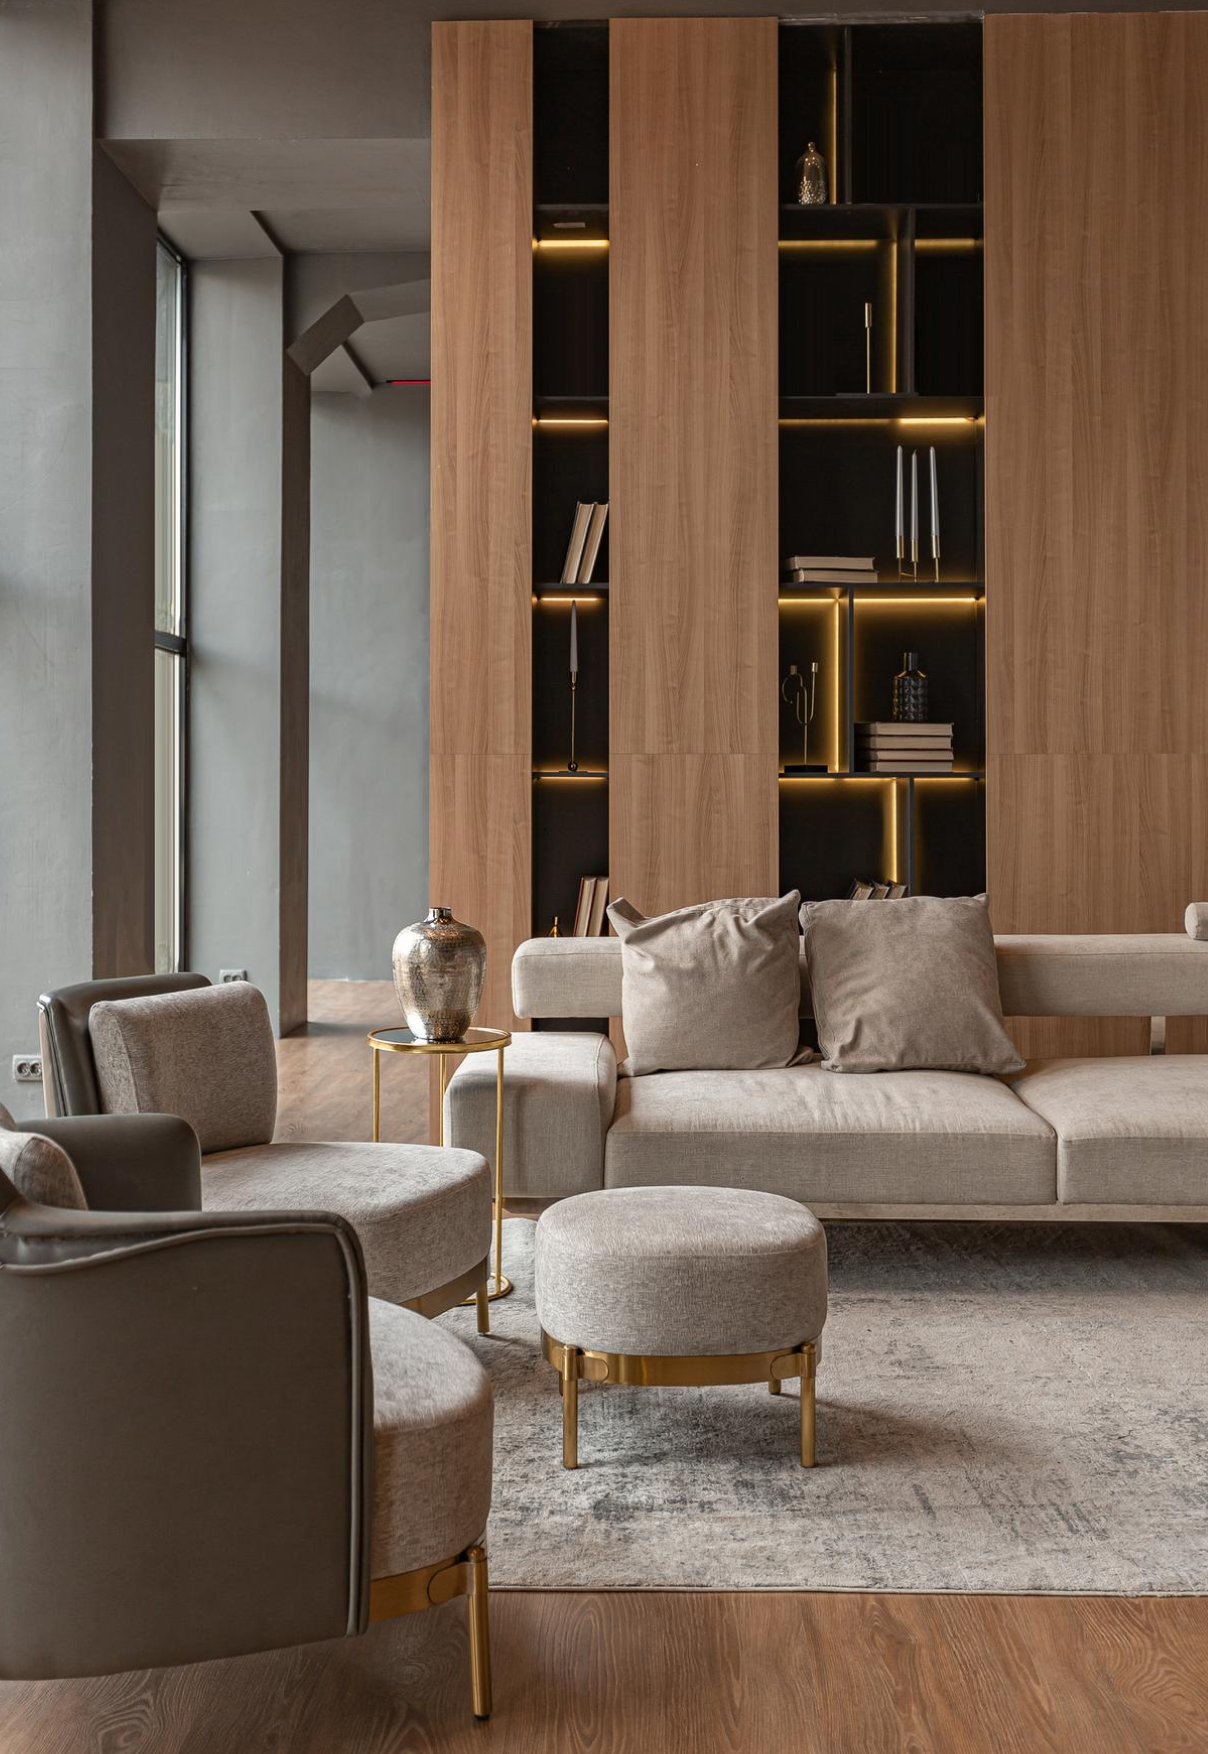
Maintain a clean, uncluttered roofline
05
Protect your roof & extend its lifespan
01
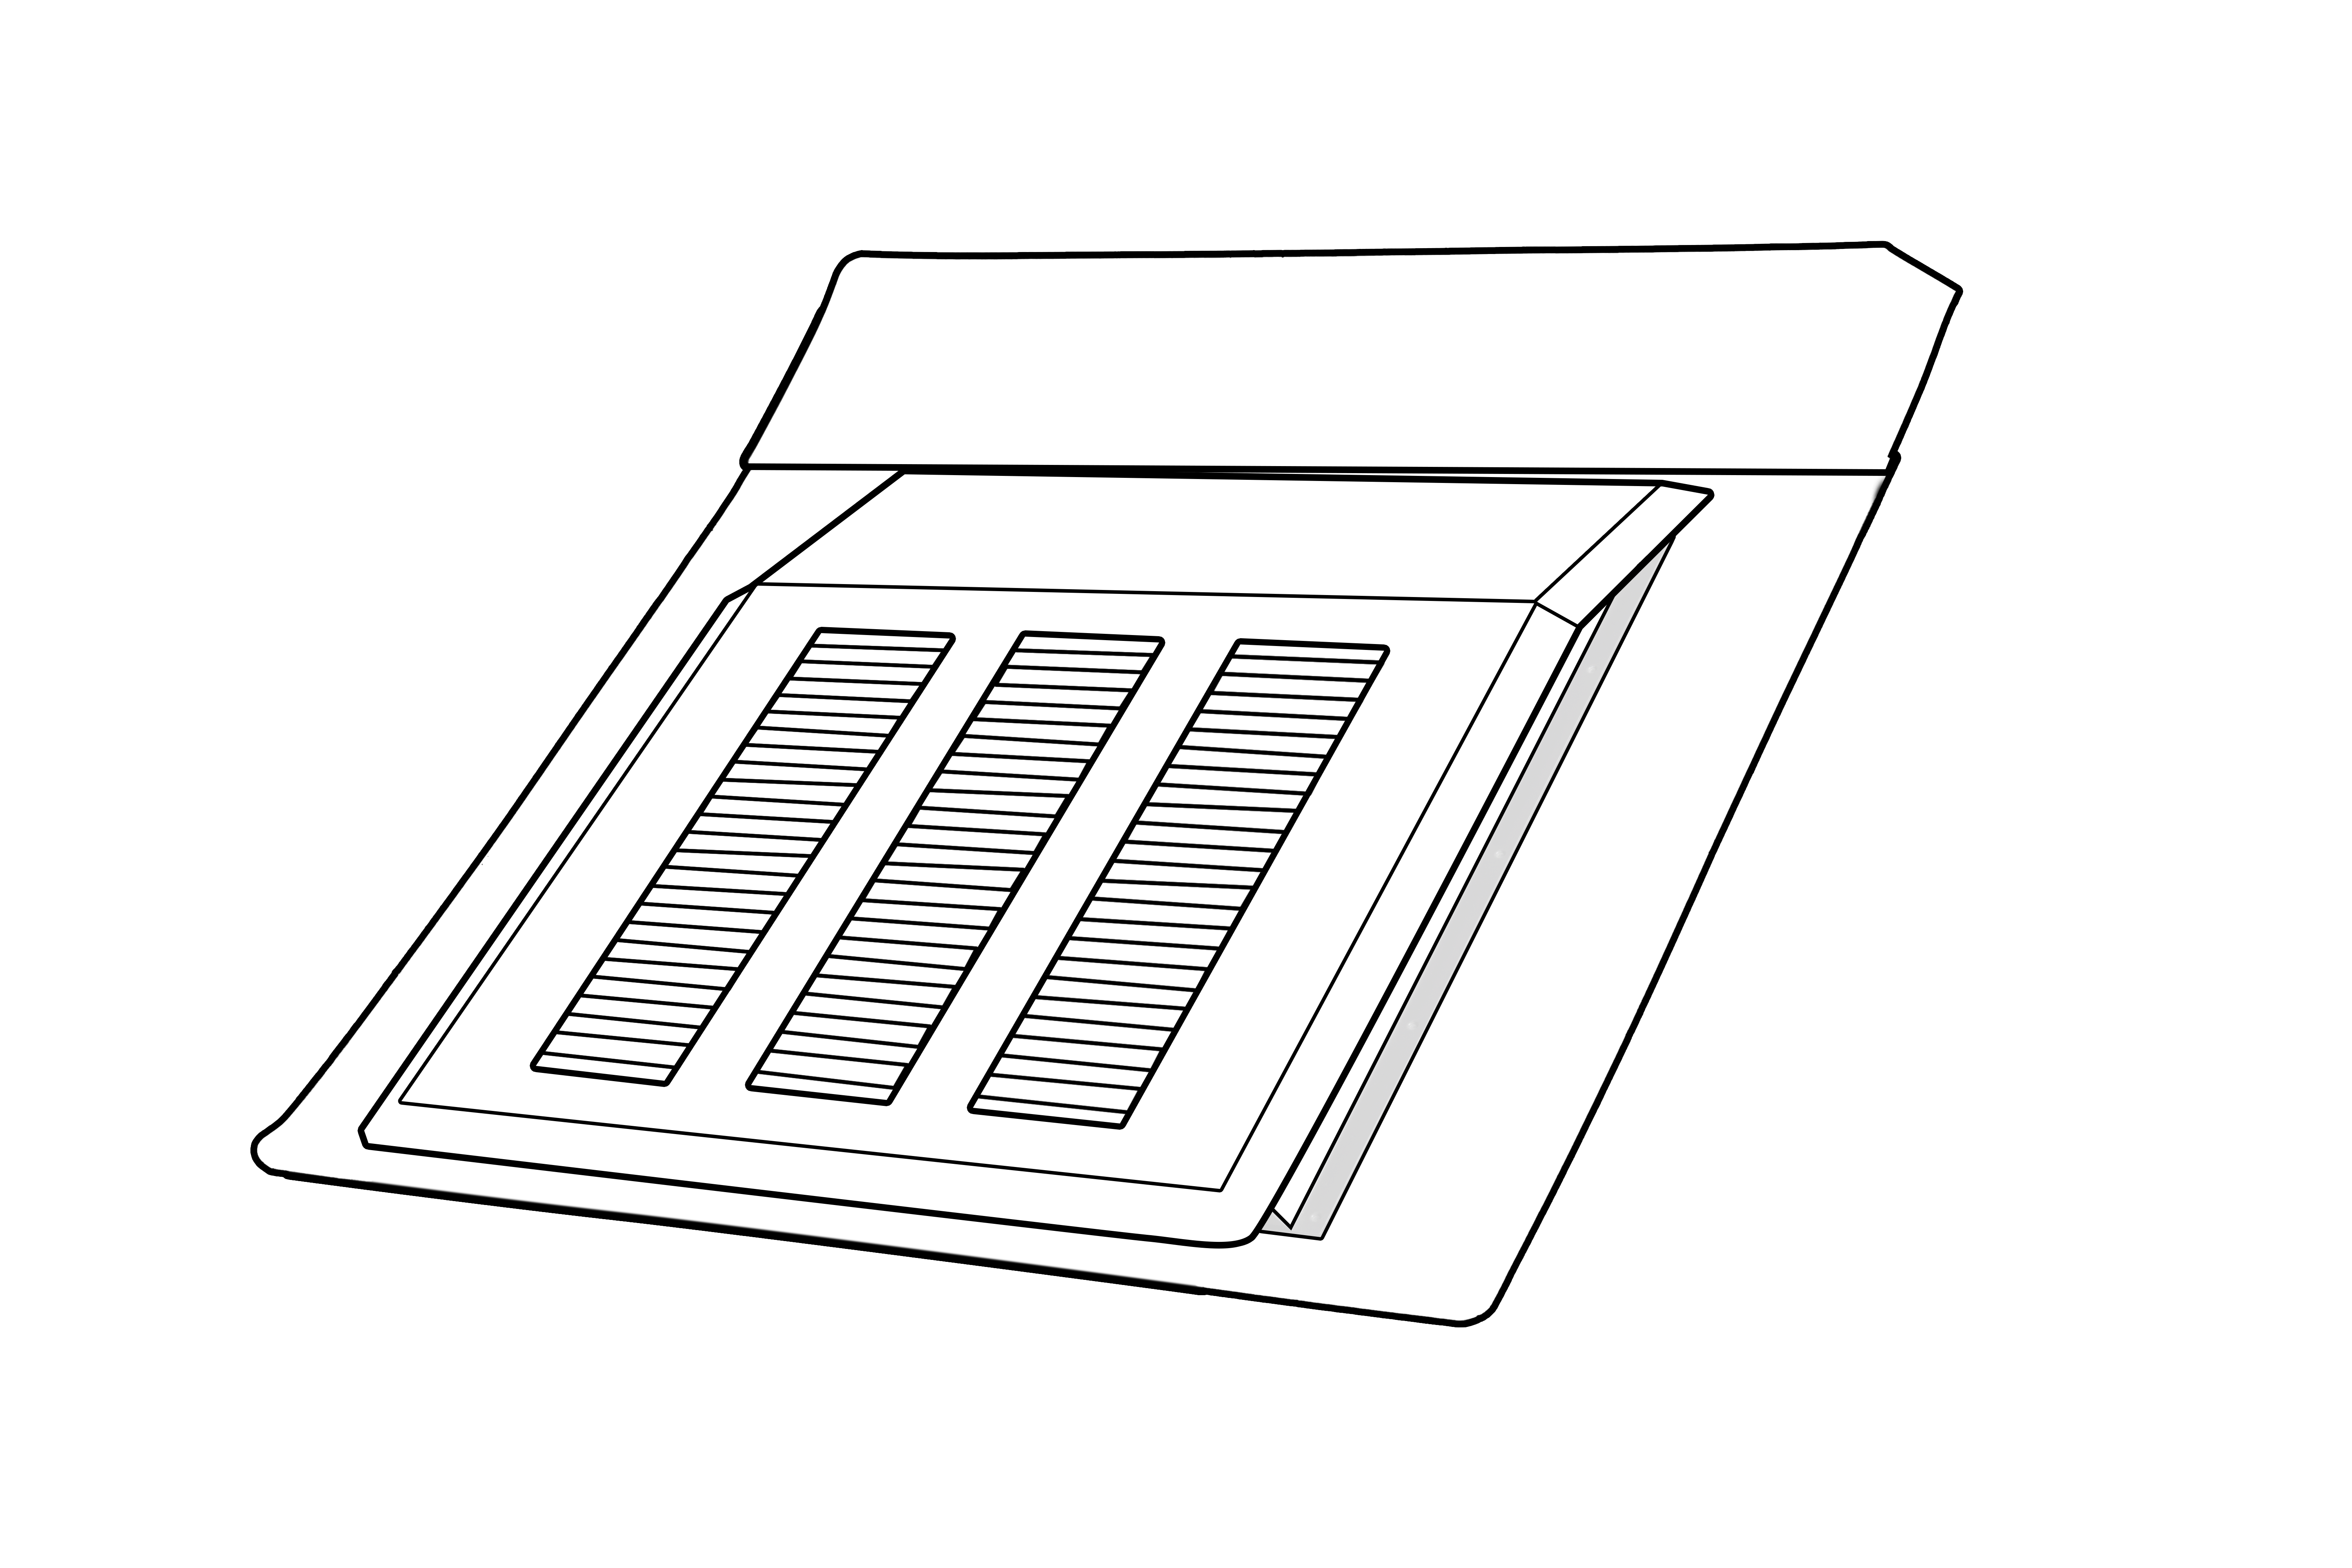
Dimensions: 24" L x 18" W x 2" H
02
Material: High-grade polymer
03
Color: Black, Weathered Wood, Brown
04
Net Free Ventilation Area:
- 1/4" Wire Mesh: 140.29 sq. in.
- 1/8" Wire Mesh: 115.70 sq. in.
01
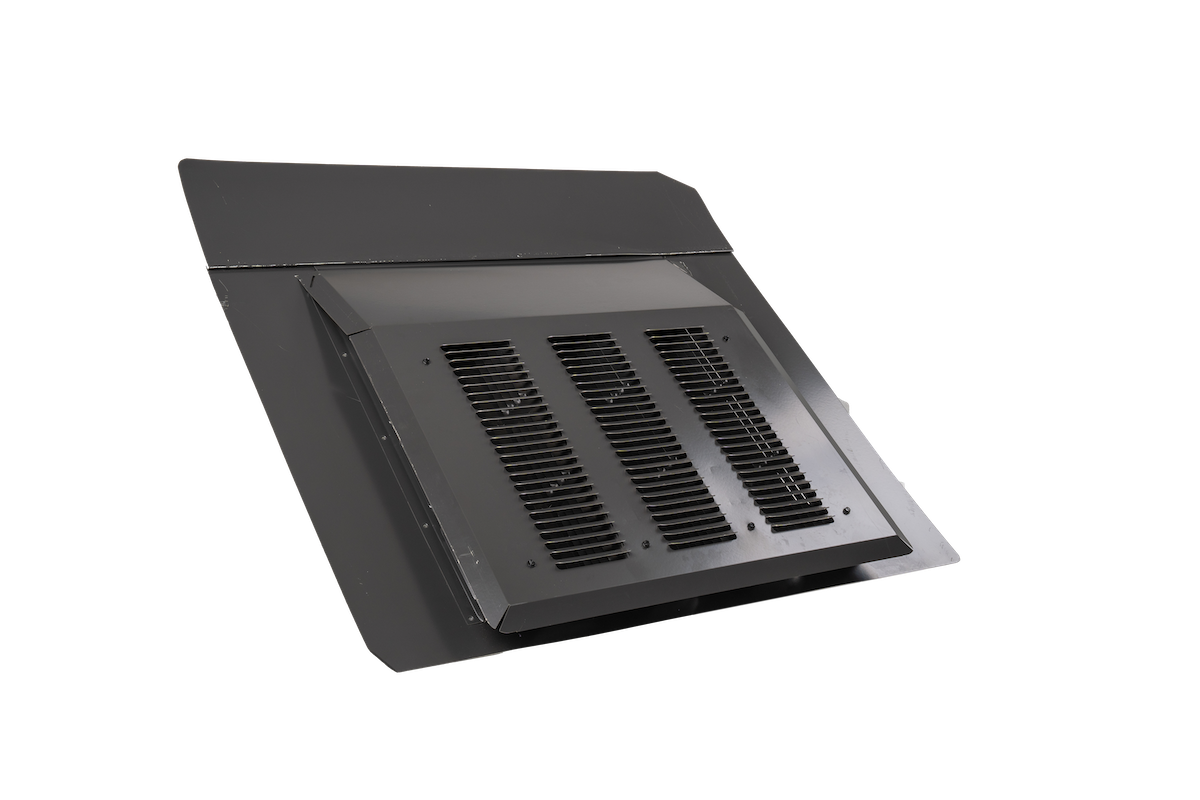
Low-profile design for enhanced curb appeal
02
Durable, weather-resistant construction
03
Easy installation with included hardware
04
Meets all building code requirements
05
Limited lifetime warranty
01
Improve attic ventilation & reduce moisture buildup
02
Protect your roof & extend its lifespan
03
Boost home energy efficiency & comfort
04
Maintain a clean, uncluttered roofline
05
Spend less time installing vents
01
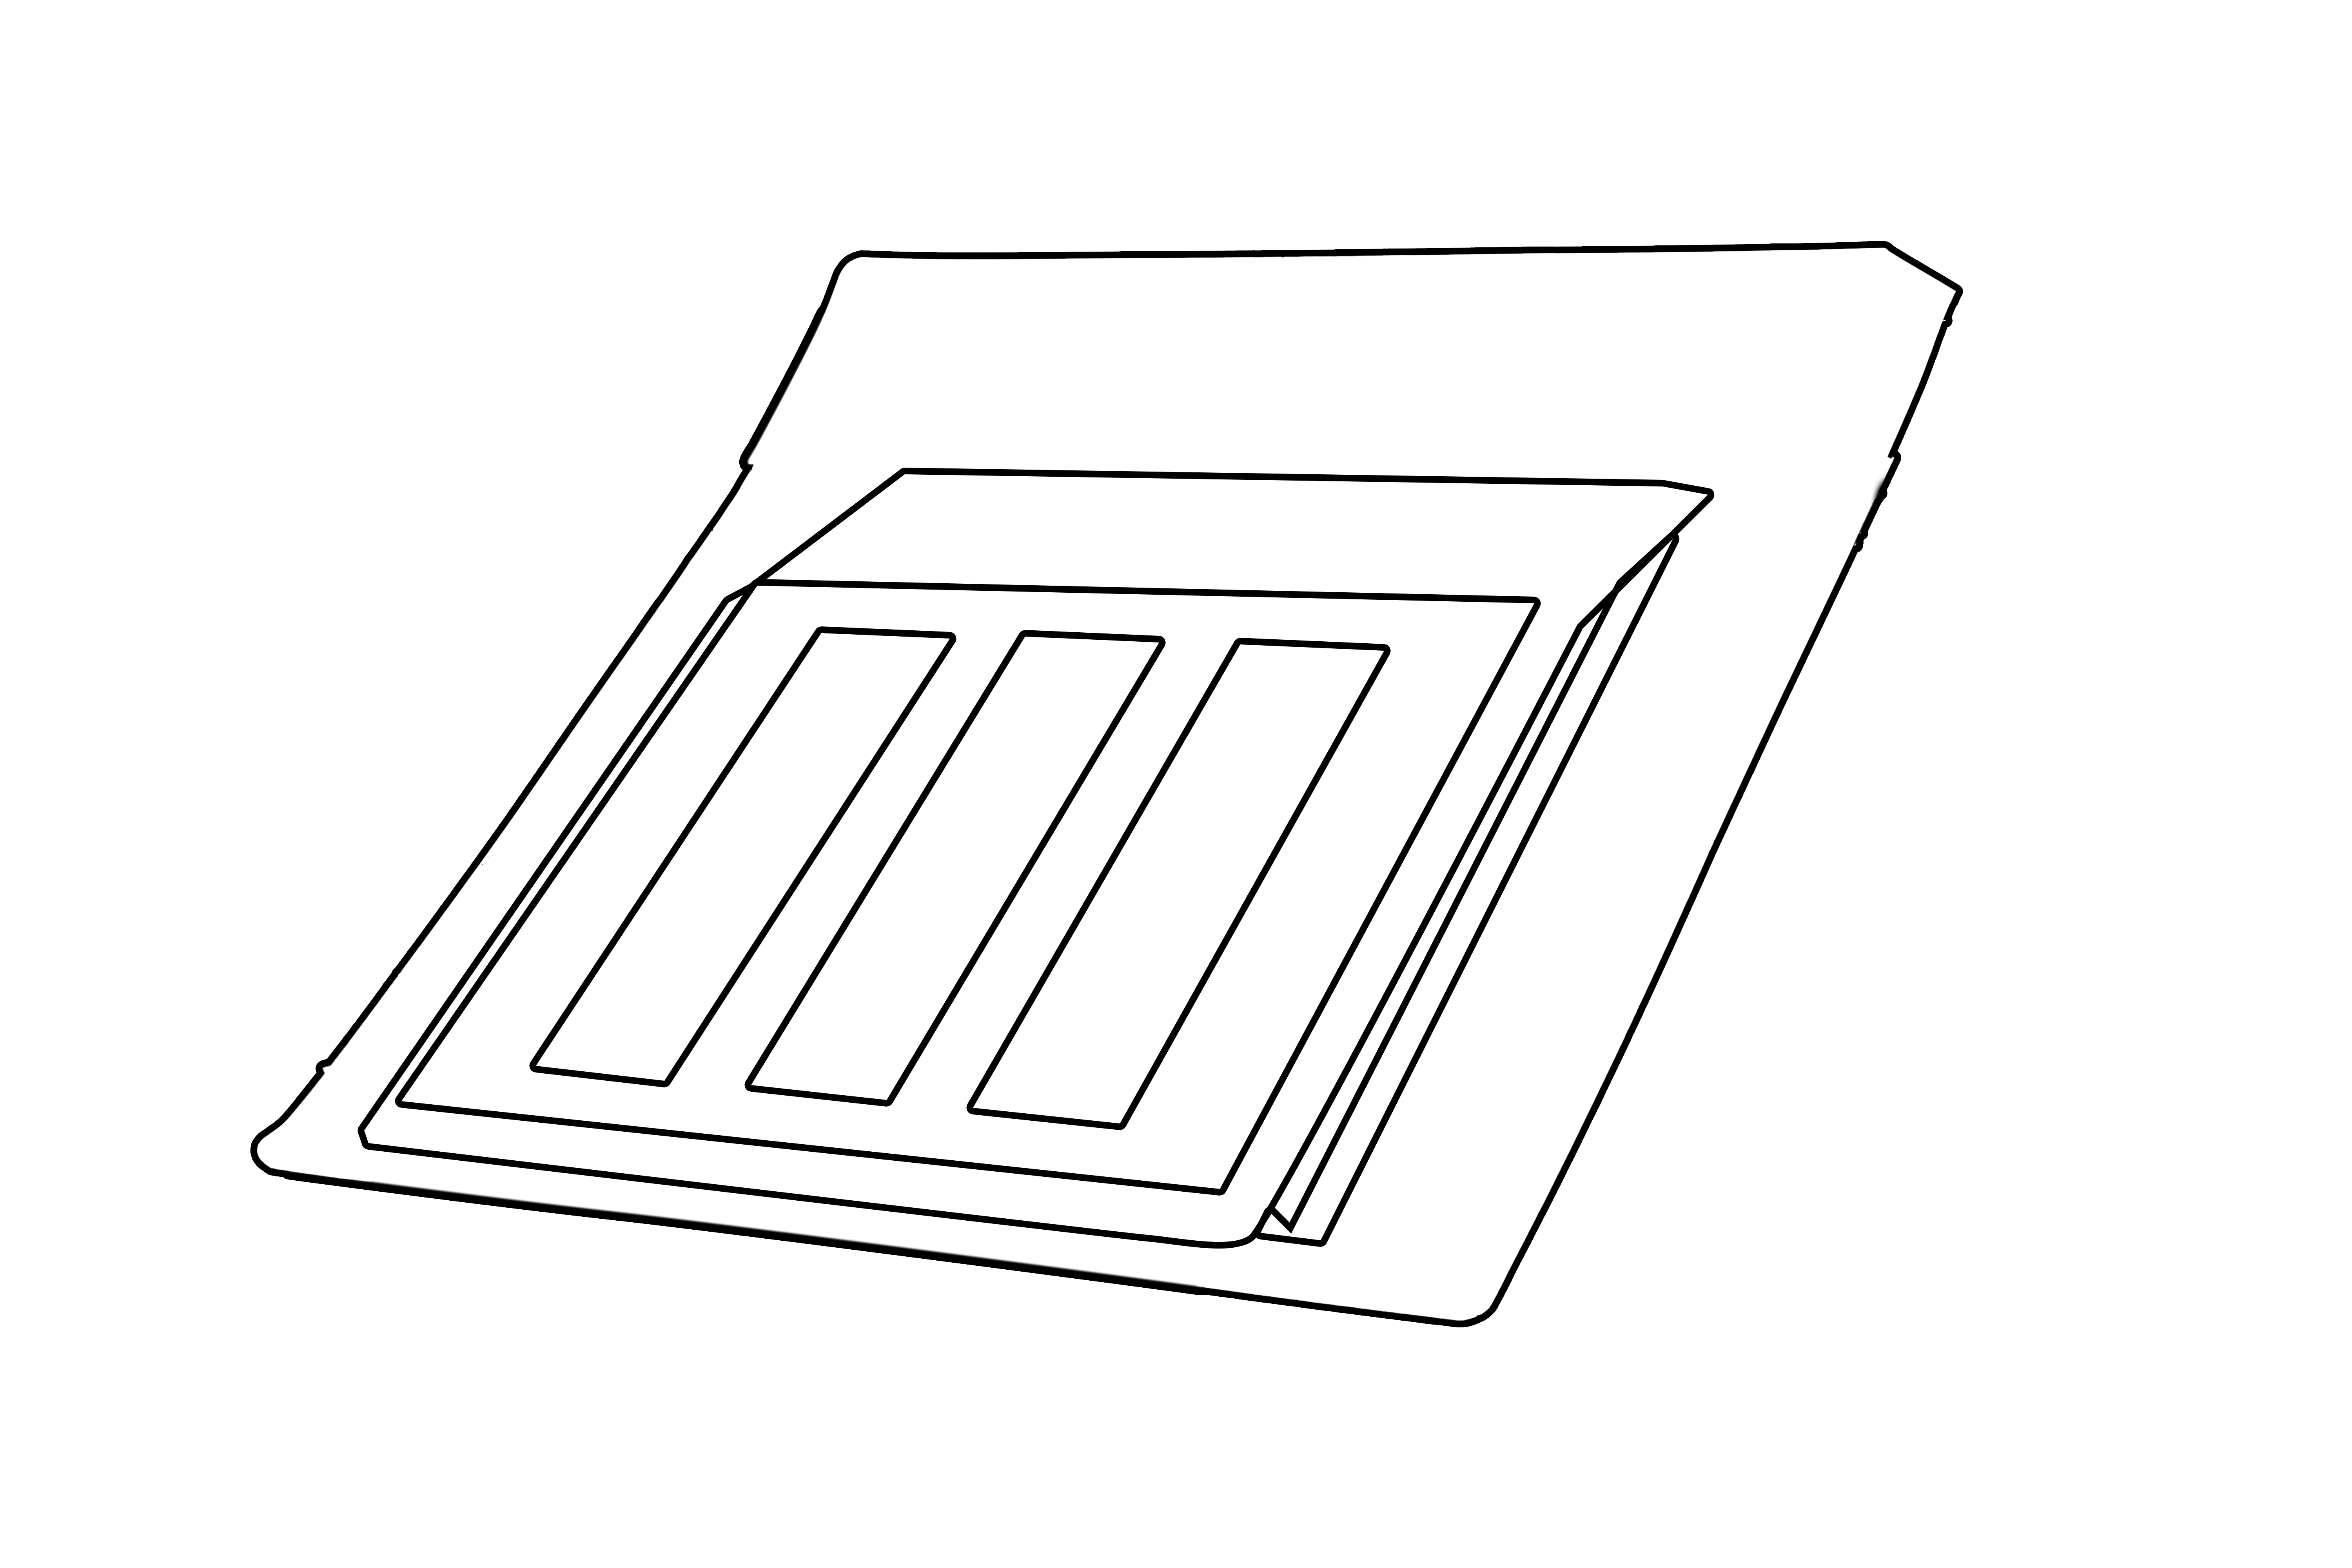
Dimensions: 24" L x 18" W x 2" H
02
Material: High-grade polymer
03
Color: Black, Weathered Wood, Brown
04
Net Free Area: 18 sq. in. per vent
05
Airflow: 762 CFM @ 15 MPH wind
FAQS
Answer to FAQ 1

Answer to FAQ 2
Answer to FAQ 3